How to install step by step
Step 1
| |
|---|
Step 2
|  |
Step 3
| 
|
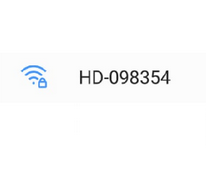
Step 4- Now press 'Search' and select the DID number that pops up. Tap the DID and it will be entered automatically.
- Give your doorbell a name of your choosing at 'System Name'.
- Enter the default password '123456'.
- Finally, press 'Save'
|  |
Step 4
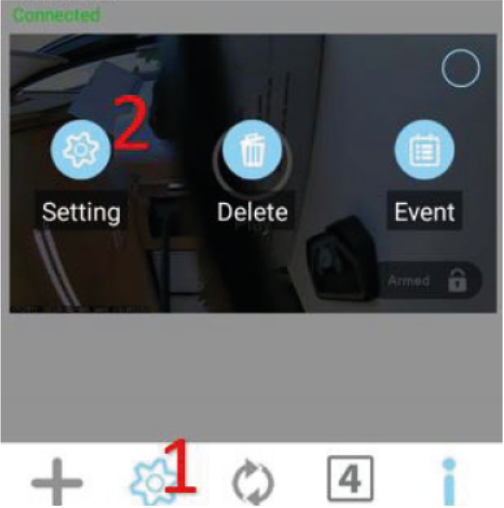
The doorbell should now say 'Connected' in the app. Tap the settings symbol (cog), and a second settings symbol appears on the center of your screen. - Tap the second settings symbol and you will return to the previous screen described at Step 3.
|  |
Step 5
Tap 'Advanced'. - Enter the default admin password: '123456' .
- You will be asked to change it, please do so.
- You will now see the Advanced settings menu.
- Select Basic settings
|  |
Step 6 - Tap WiFi Setup and select the pull-down menu to display all available WiFi networks in range.
- Select your own network, enter the correct password and tap 'Ok' .
The doorbell will now reboot and you will return in to the camera overview. - It may take several minutes before the doorbell will display 'Connected' again.
- Your doorbell is now installed and ready to use
Note: Only 2.4GHz networks are supported. |  |


